Install it your way.
Our cabinets arrive assembled, labelled by wall, with pre-drilled holes. Most owners finish with a handyman in a weekend.
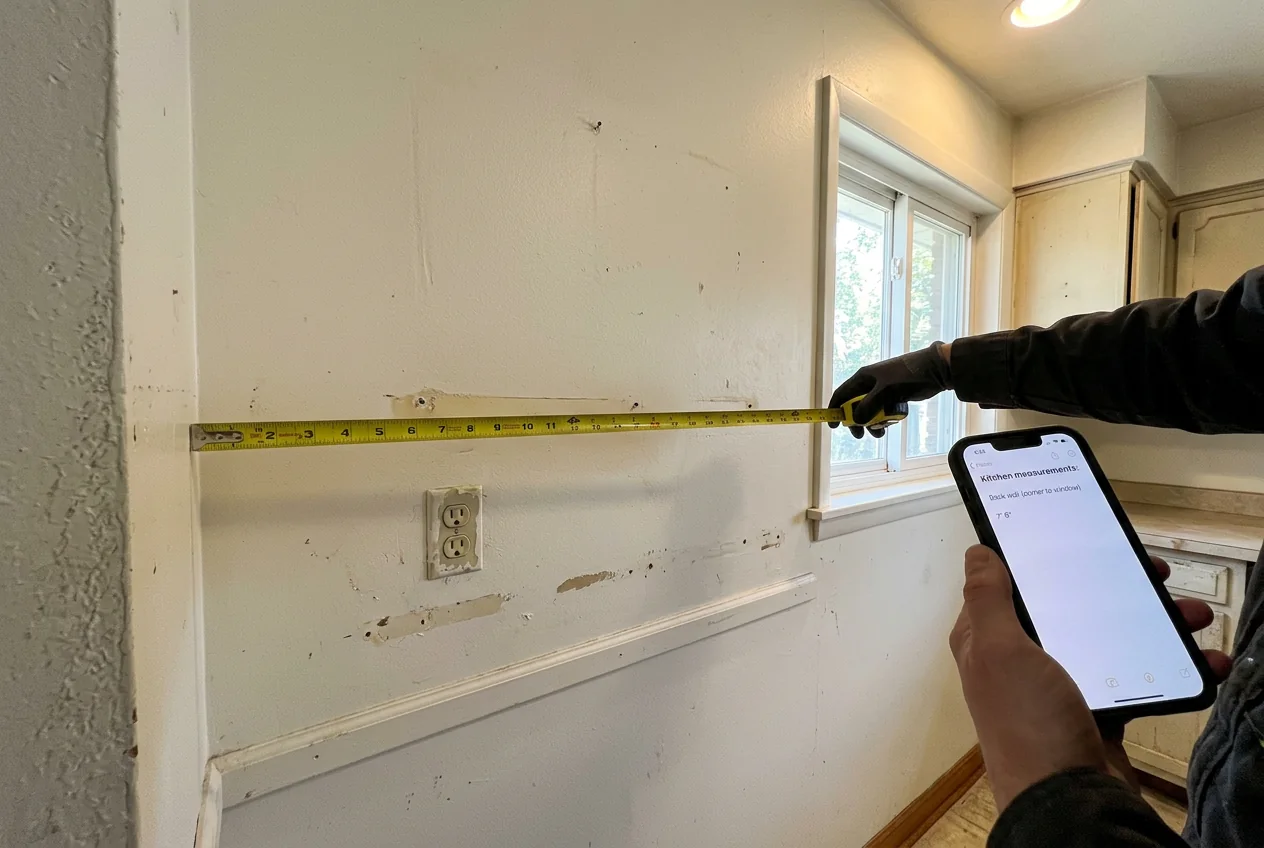
How to measure your kitchen.
Rough sizes are enough for a first price. Jason checks every measurement with you before anything is ordered.
- Measure every wallRun the tape along each wall where cabinets will go, corner to corner, and write the length in inches.
- Note the ceiling heightMeasure floor to ceiling in two or three spots. Older houses are rarely the same everywhere.
- Mark windows and doorsFor each opening, note the distance from the nearest corner, its width, and its height from the floor.
- Find the servicesMark where the sink drain and water lines come out, and where the stove, fridge and dishwasher go.
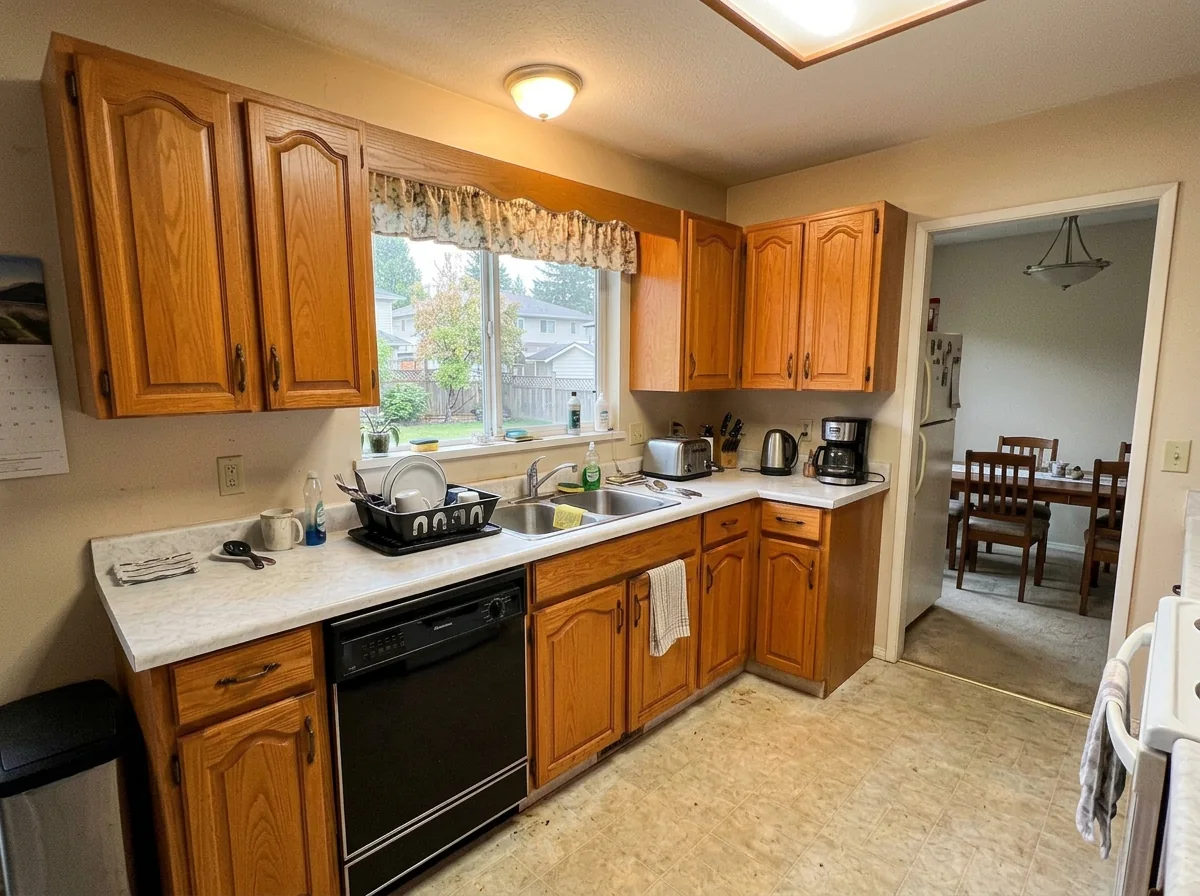
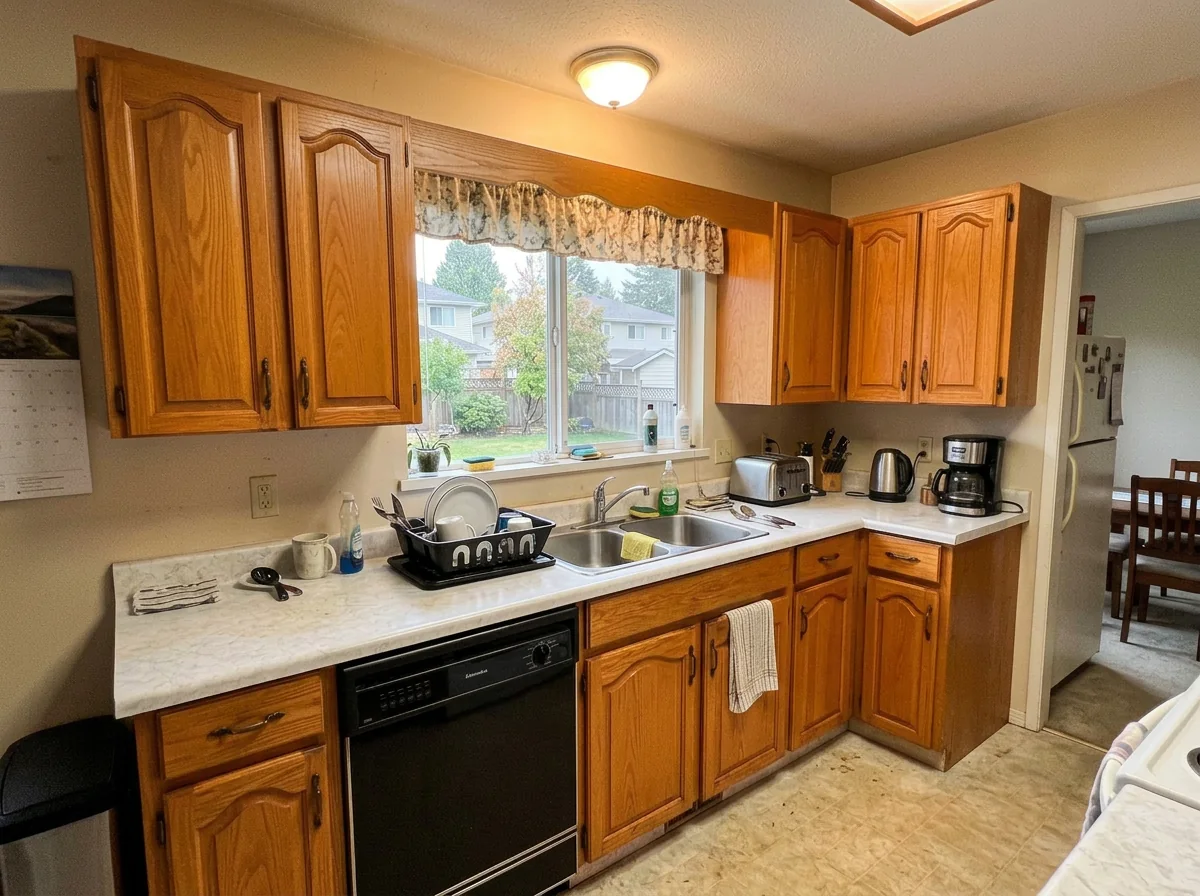
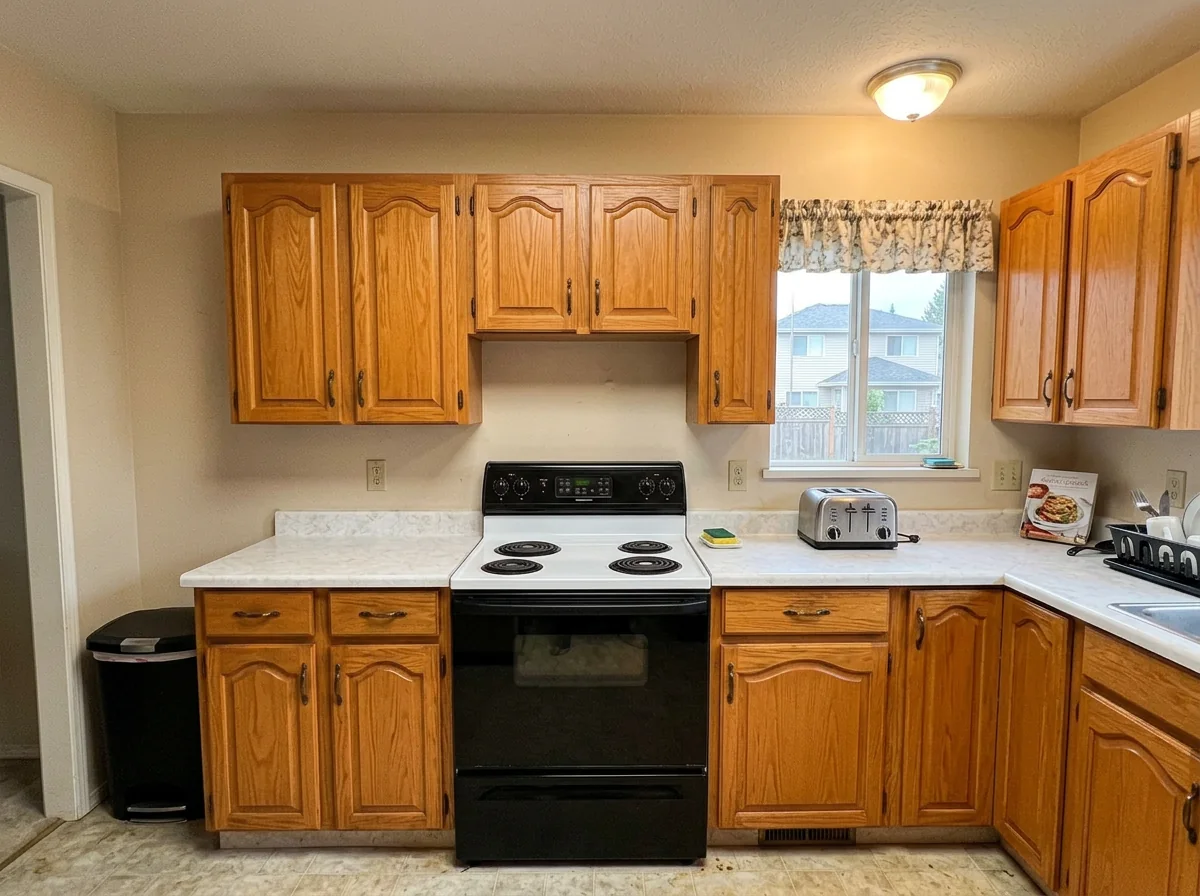
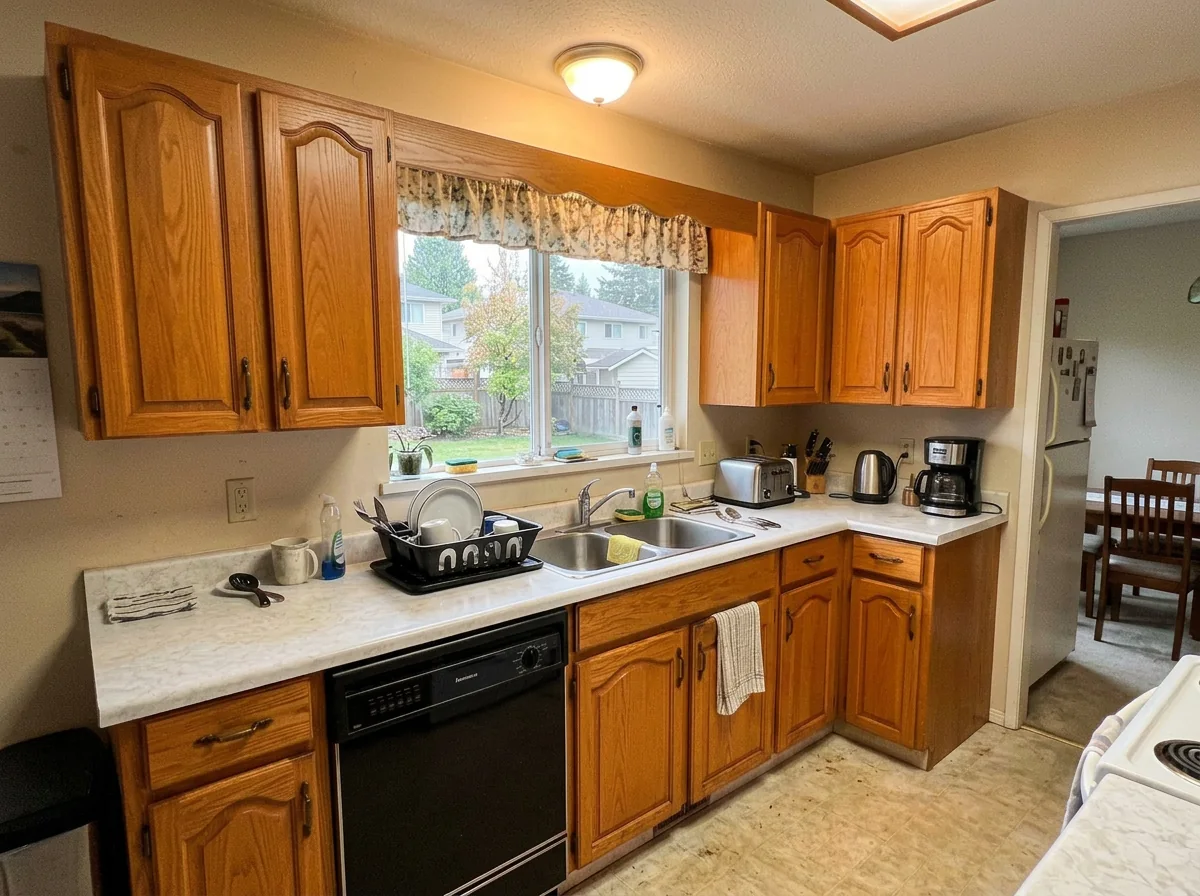
- Take four photosA wide shot of the whole kitchen, then the sink wall, the stove wall and one corner, like the examples below.
What you need.
All of it is standard kit for a handyman.
- Drill and impact driver
- 4 ft level
- Tape measure and pencil
- Stud finder
- Clamps
- Shims
- 3 in cabinet screws
7 steps, about 7 hours of work.
- 01About 45 min
Measure and mark
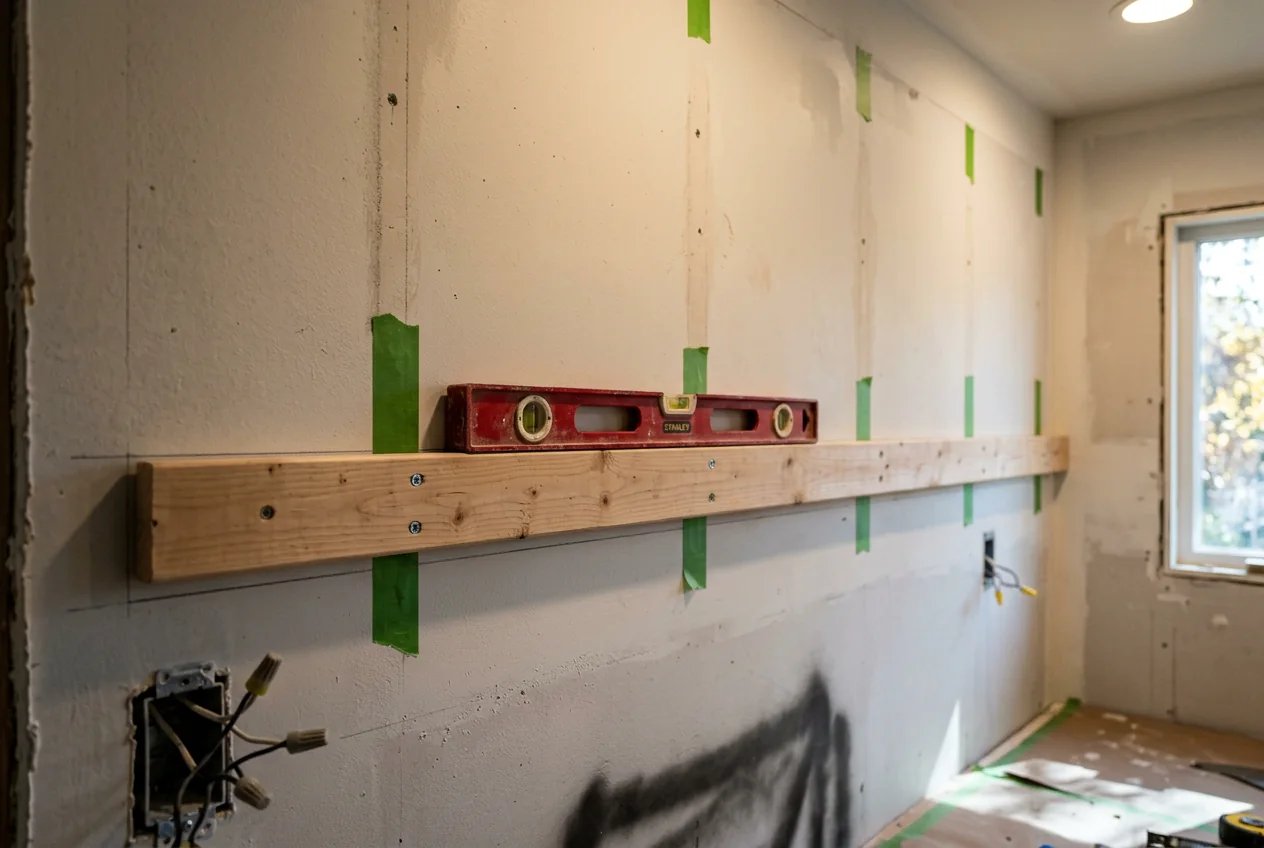
Find the highest point of the floor, mark a level line for the base tops at 34.5 in and for the uppers at 54 in. Mark every stud.
 02About 20 min
Fix a ledger for the uppers
Screw a straight board under the upper line. It carries the weight while you fix each cabinet to the studs.
 03About 2 h
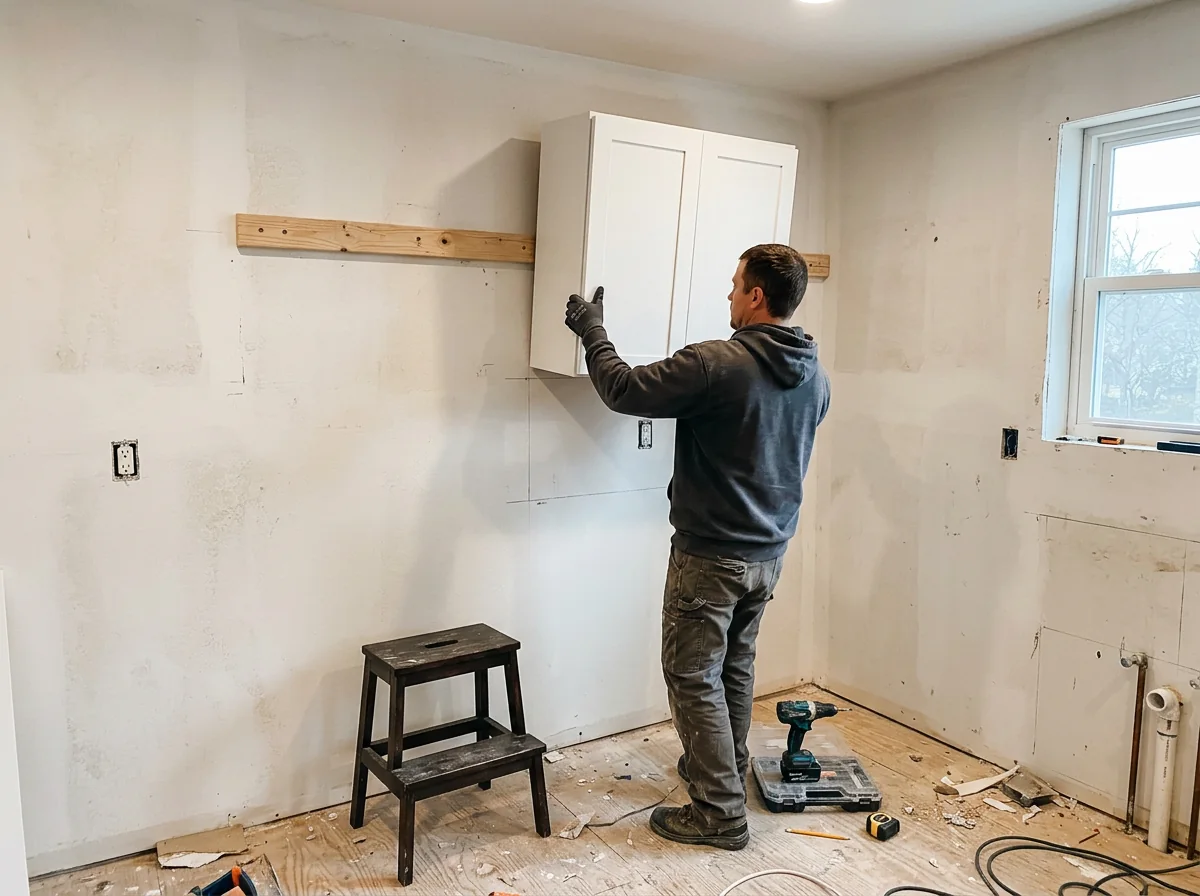
Hang the upper cabinets
Start in the corner, rest each box on the ledger, clamp neighbours together and screw through the back rail into studs.
 04About 30 min
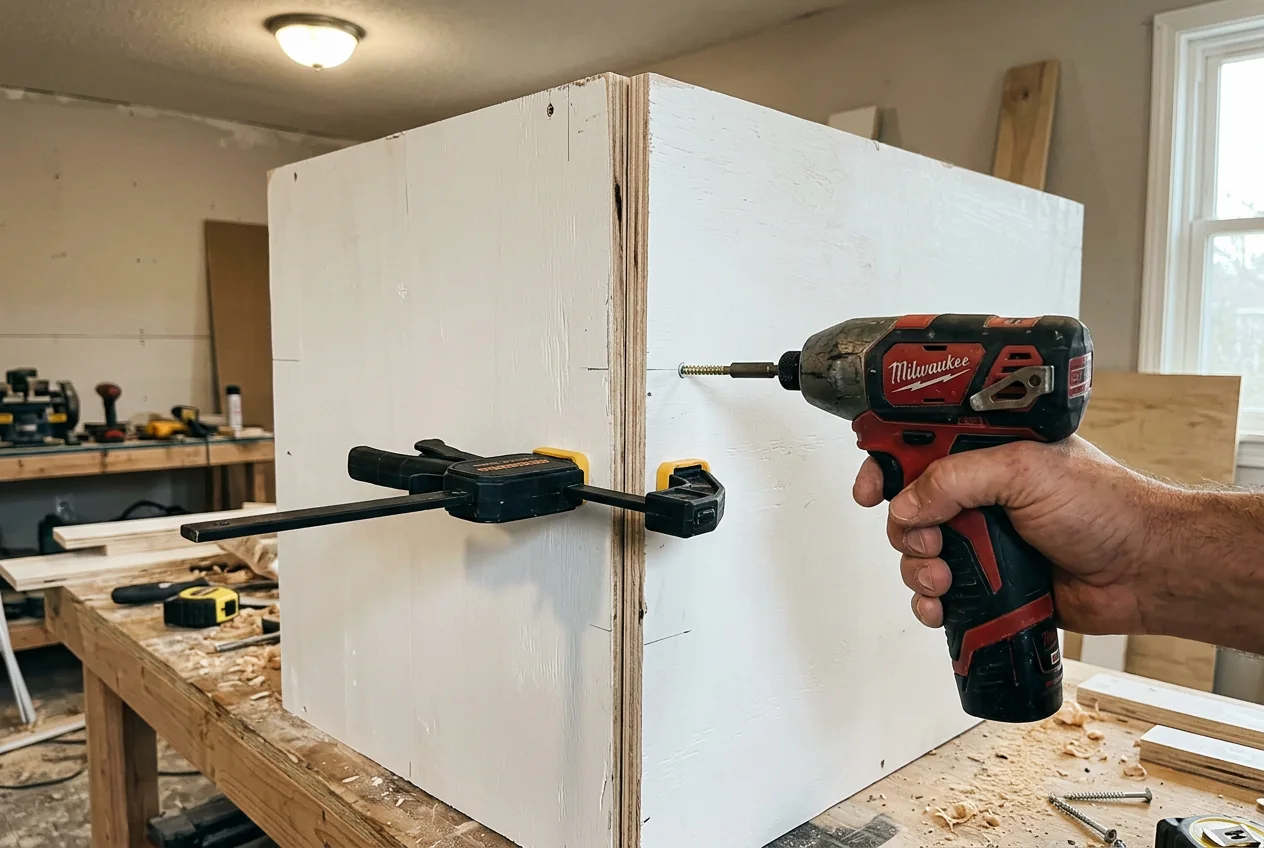
Join the boxes
Clamp the face edges flush and drive short screws through the side panels near the front.
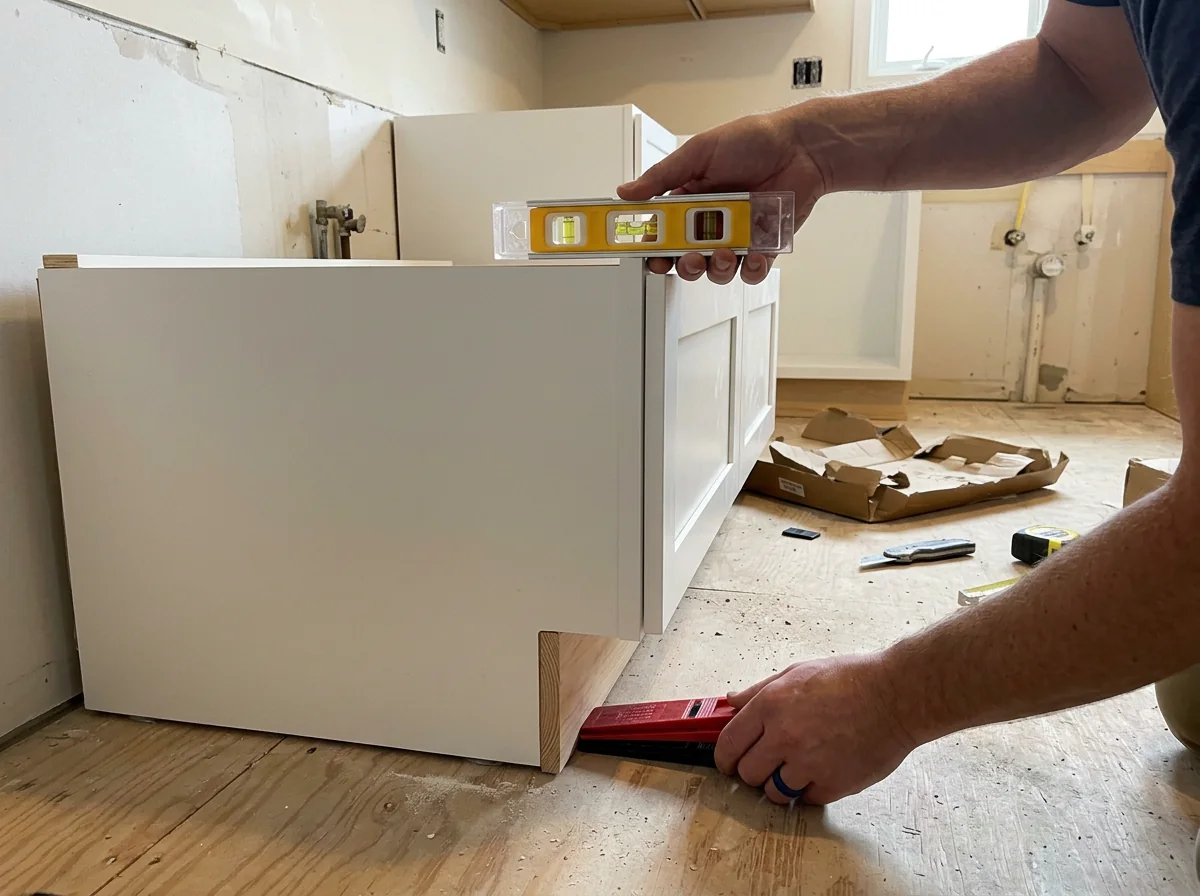 05About 2 h
Set and level the bases
Start from the highest floor point, shim each base to the level line and fix to the studs.
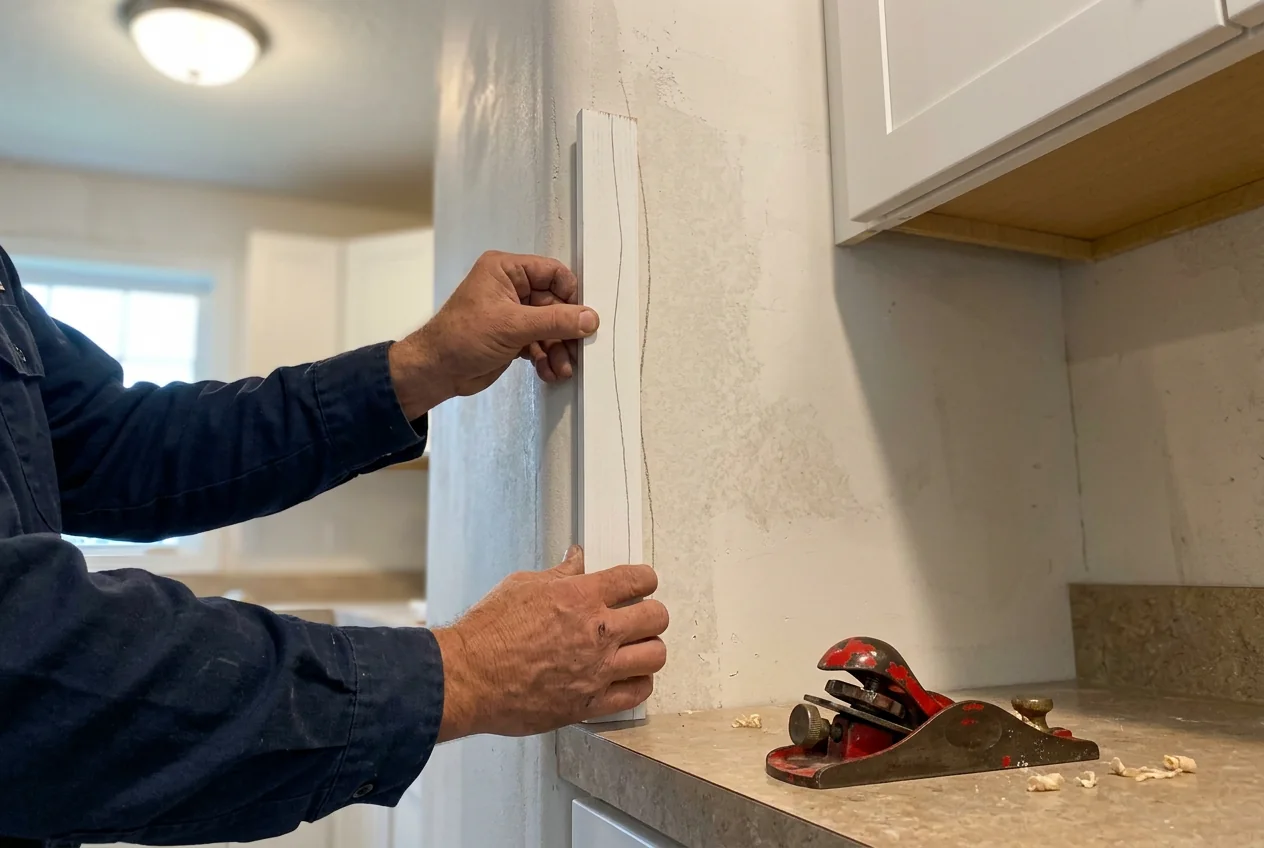 06About 40 min
Scribe the fillers
Hold the filler against the wall, scribe the gap with a pencil and plane to the line.
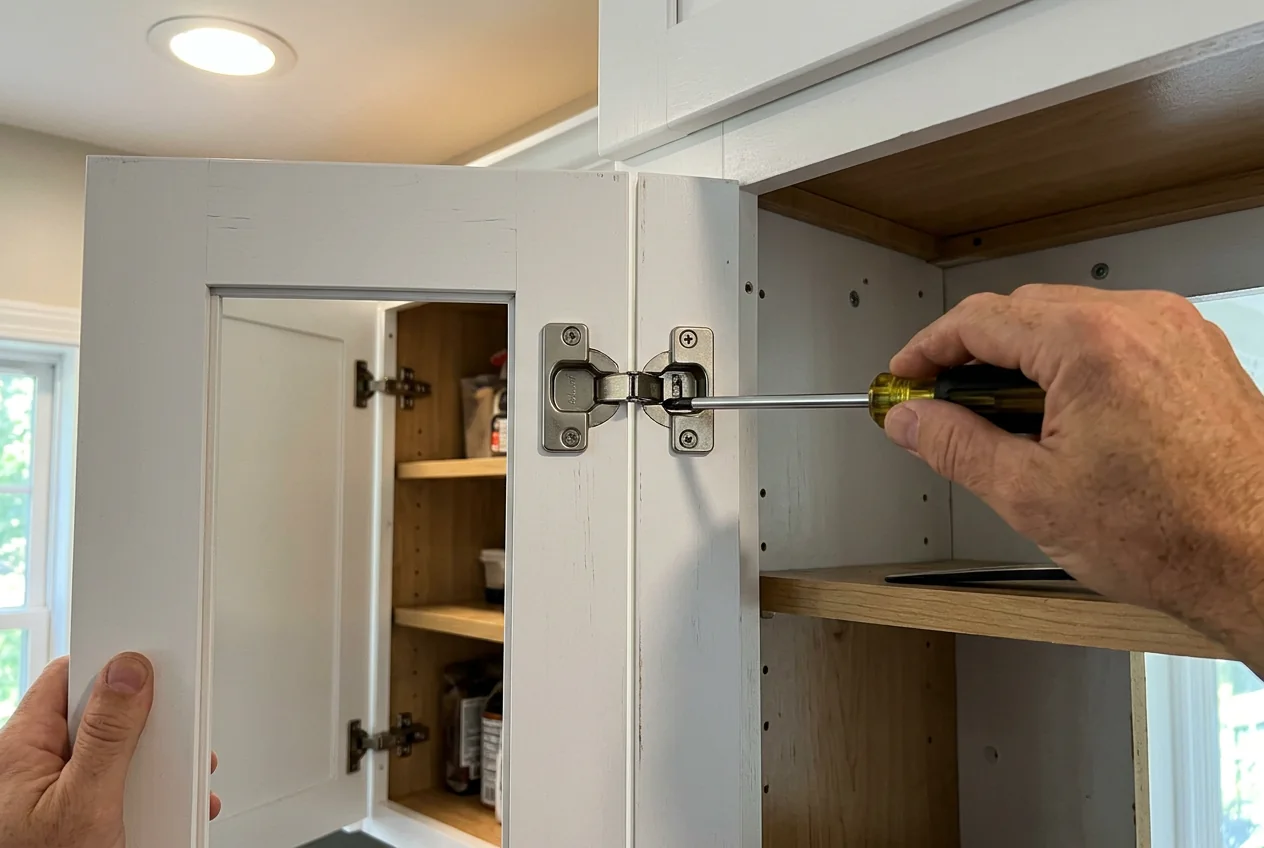 07About 45 min
Adjust doors and drawers
Use the three screws on each soft-close hinge to even the gaps. Fit the toe kicks last.
Send your handyman the install pack.
Working with your own handyman? Send them the install pack before delivery day, so they know exactly what is coming and where it goes.
- Your labelled layout from Jason
- The cabinet list, with every box labelled by wall
- This guide and the tool list